
- Support for BeagleBone and BB Black
- Some much-needed improvements to dhclient
- OpenSSH 6.3 with some new features
OpenBSD/Apache/MySQL/PHP guide
OpenBSD/nginx/MySQL/PHP guide
Much has been written about how to get started in InfoSec. Last week, I happened across this excellent post with guidance for college students interested in security. The fact is, most of his points are relevant for anyone, student or not, that feels like security is their calling. Of particular note that you really need to love this field to make a career of it without getting burned out in the first few months.
Landing an internship is a good start. I've worked with some brilliant interns from high school and college, but internships are usually only available to students. Most security industry internships are not only paid, but paid quite well compared to many entry-level part-time jobs. Like most internships, you stand a pretty good chance of finding a job in the field if you excel at your work.
Brian Krebs has also sought advice from various high-profile folks in the industry. Most of their sentiments line up: Be curious. Learn. Tinker. Show it off. Crafting excellent write-ups shows potential employers that you're an effective communicator, and that you have the skill to really dig into and understand a topic. These traits matter through your entire career. Even now, with nearly half my life spent in the information security field, I still can't resist the urge to get my hands dirty in the lab. As for how to show off your findings and get involved with the community, try setting up a blog, hanging out in /r/netsec and visiting local gatherings such as CitySec, ISACA, OWASP, yes, even 2600. If you get a chance, big security conferences can be a lot of fun, but I'd argue they're less useful for getting your foot in the door, and more useful for getting to know others in the field from all over the world.
It's worth reiterating how unfathomably broad the field of information security is. If you're looking to get started, it's best to pick one or two subjects to really focus on. Many of the "fun" topics make use of both offensive and defensive skills. You might need to Google some of the sub-topics, but to name a few I can arbitrarily think of off the top of my head:
Yes, you have to give them your e-mail address. And yes, like many publications, there are a bunch of advertisements. Every once in a while, BSDMag covers a lot of security-related topics, and this is one of those. Click below to get the latest issue.

I warned you all. I was going to do it.
When I was a kid that actually knew and used UNIX (AT&T and AIX at the time), I knew in my heart of hearts that there was no video-game-like flying graphical file manager for UNIX. A lot of us made fun of the computer scenes in Jurassic Park. Well, I was wrong. All of us were. Here's the 20+ year-old Fusion (fsn) file manager running on a 20-year old computer.

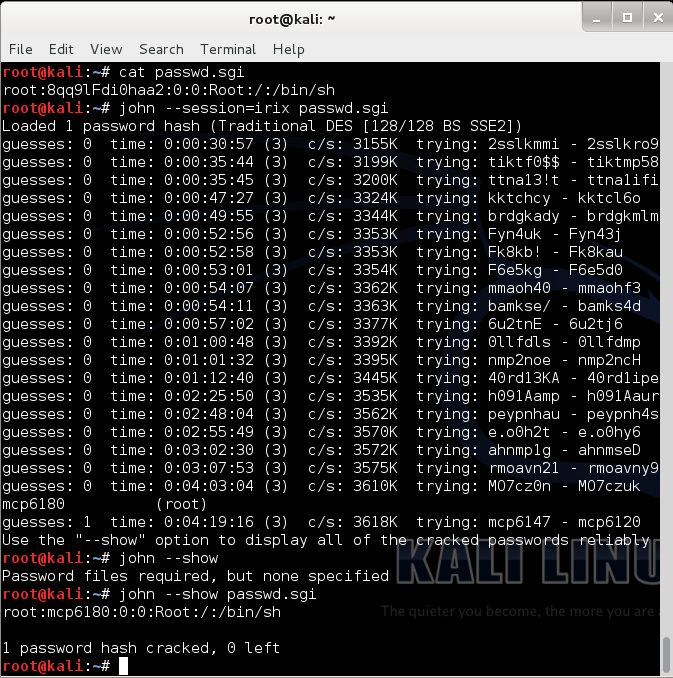
I like old computers. I like playing with different operating systems, including old ones. A year and a half ago, give or take, I received an SGI Indy from someone who was cleaning out the shed. This was a low-end machine from SGI, but a relatively high-end workstation by most standards of the era, meant for people doing 3D design and CAD work. This one was made in 1996, about a year before the product line was discontinued.


I have been running across malware like this lately.
It appears to be a local infection that appends some VBScript to HTML files on
the webmaster's computer, spreading to the Internet when it's uploaded.
Alternatively, it could be an infection on a Windows IIS server.


OpenBSD 5.3 was released on May 1. (I told you I'm running behind!)
There are many enhancements and changes, including some much-needed tweaking to dhclient, making it a little less frustrating to use. While updating the nginx/MySQL/PHP-FPM how-to, I noticed that nginx is now defined in rc.conf like Apache has been for quite a while, so the setup procedure changed ever so slightly. The Apache/MySQL/PHP how-to remains basically unchanged, and it'll continue to be maintained so long as Apache is available in either the base distribution or from ports/packages.
Yes, I know, I'm running way behind, aren't I?
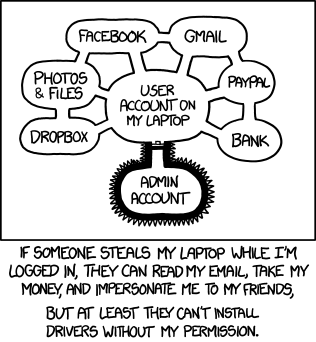
The thing is, authorization to your web-based accounts isn't why we recommend using an unprivileged account for your daily computing use.
On Windows, OS X and most popular desktop distributions of Linux, the first account that's created has administrator-level access. Increasingly, privilege escalation tools such as sudo, UAC and keychain access have made it to where you have to authenticate in order to make dramatic changes to the system (such as install drivers) but this protection can often be disabled or wholly bypassed.
In any case, an administrator-level account on a computer can not only install drivers and software, but may unwittingly allow malware to set its hooks deep into the operating system. It's for this reason that people recommend setting up another user-level account without privileges to install software.
As for protecting your sensitive data inside that user-level account, full-disk encryption is the way to go. This feature ships standard (although it is disabled by default) with OS X, many popular Linux distribution, and even the premium and enterprise versions of Windows. FDE has its flaws, but it's better than nothing.
I've been playing with a bunch of malware lately. Most security researchers have run across obfuscated JavaScript, and we all have our favorite ways of defeating it. I'd written about one way to decode this sort of thing back in 2011.
Why bother decoding this stuff? Because encoded within this mess is
another URL. Depending on the source of the obfuscated code it may be a
link to a page full of exploit payloads or something similarly sinister.
Unwrapping the layers of malware allows researchers to find out where
the bad guys are actually hosting their stuff, and helps us identify
providers who are willing to help with or at least turn a blind eye to
cybercrime operations.
Lately, I've become more determined to handle javascript de-obfuscation outside the browser. Over the last year or so, I've been experimenting with a bunch of techniques to make sense of blocks of code that look like this:


At the heart of the above script is a nifty function I found in the Bash FAQ. And then, I used a pair of sed expressions to replace the "i" and "c" placeholders within the loop that handles the output. We call on the "bc" command-line calculator to work all the math magic. tr -d "\r" fixes some broken newlines found in some of the samples I decoded. Let's see it in action:#!/bin/sh # Obfuscated JS Decoder # Ax0n - 2013-03-22 # ax0n@h-i-r.net # if [ -z "$1" ] then echo "$0 codefile algorithm" echo "c = placeholder for each number" echo "i = iterator" exit 1 fi chr() { # http://mywiki.wooledge.org/BashFAQ/071 # Turns a charcode into the ASCII byte printf \\$(printf '%03o' $1) } count=0 file=$1 shift algo="$*" for code in `cat $file | tr "," " " `; do chr `echo "$algo" | \ sed -e s/"i"/"$count"/g -e s/"c"/"$code"/g | \ bc | cut -f1 -d\.` | tr -d "\r" count=`expr $count + 1` done echo echo "----- done ----"


This. So much this.
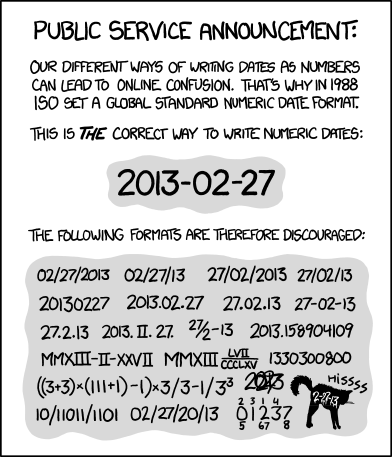
In C:Got it? Good.#include <stdio.h> #include <time.h> #define SIZE 0x100 int main () { time_t t; char buffer[SIZE]; struct tm ltime; t = time (0); localtime_r (& t, & ltime); strftime (buffer, SIZE, "%Y-%m-%d", & ltime); printf ("%s\n", buffer); return 0; }In Bourne-derived shell:#!/bin/sh iso8601=`date +%Y-%m-%d` echo $iso8601In Perl:#!/usr/bin/perl use POSIX qw/strftime/; my $date = strftime "%Y-%m-%d", localtime; print "$date\n";In Ruby:#!/usr/bin/ruby iso8601 = Time.now.strftime("%Y-%m-%d") p iso8601In PHP:<?php $iso8601=date('Y-m-d'); print $iso8601."\n";In Python:#!/usr/bin/python from datetime import date iso8601=date.today().isoformat() print iso8601
Edit (April 24, 2016): A Few years ago, OpenBSD developers started issuing an "installXX.fs" image which was designed to be written to a USB drive with dd(1). This makes the article below mostly obsolete.
From pretty much any unix-like operating system, you should be able to use dd to write the .fs image to the USB stick directly, like this:
sudo dd if=install59.fs of=/dev/rsd2c
(Just make sure you have the right target device specified. You don't want to overwrite the wrong drive!)
---
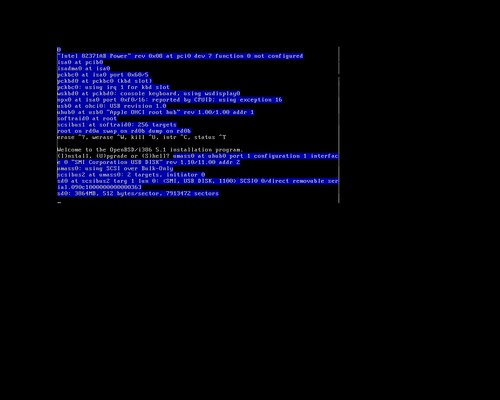
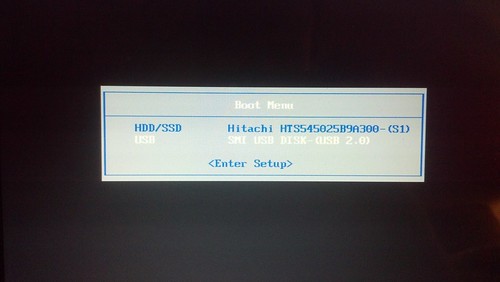
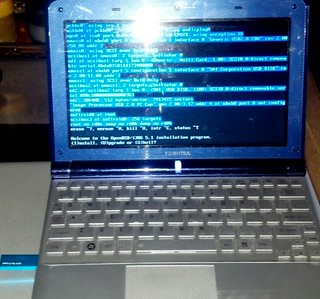
When I first installed OpenBSD to my netbook, I had tried several ways to get the ISO written to a USB stick including unetbootin, using dd to directly write the image to USB, and a few other tricks. The Googles showed me a workable yet rather complicated way to do it, but that sounded like a pain in the butt. I didn't have an external USB optical drive, but I had the hardware to hack one up. This is really how I did that first OpenBSD install:
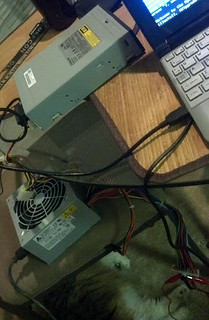
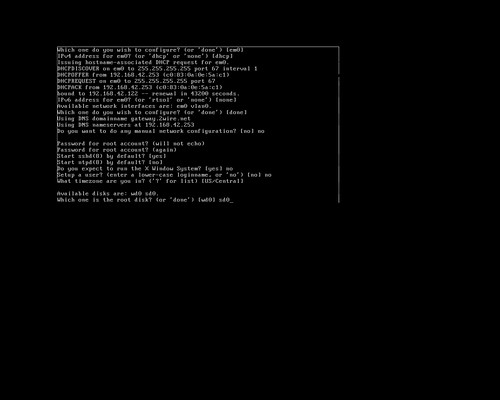
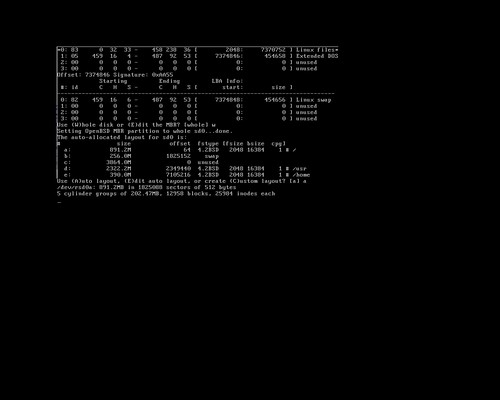
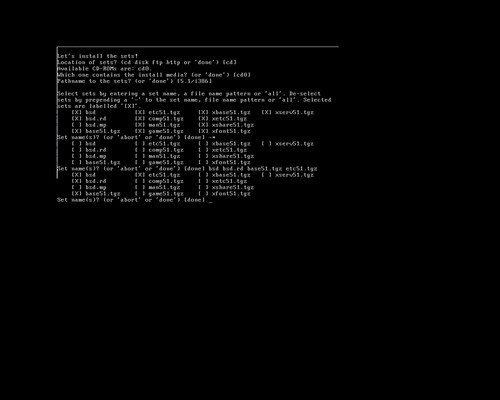
Earlier, I had actually installed OpenBSD to a USB stick, and run the whole system directly from USB, including a swap partition, logs going to /var and the whole nine yards. OpenBSD's gratuitous logging and swap utilization killed that USB stick in a matter of months after daily use, but the thought hit me to use that same method here. By default, the bsd.rd package is installed to the root filesystem to use in a recovery situation. This is an initial ramdisk, a bare-bones userland with just enough tools to install or rescue a system. So that's what we're going to do. The TL;DR goes something like this:
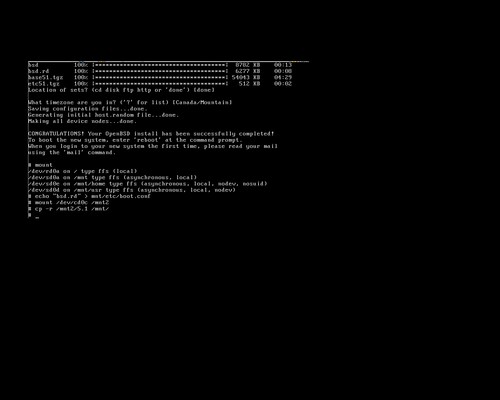


