While on a bike ride today, I found this on the roadside: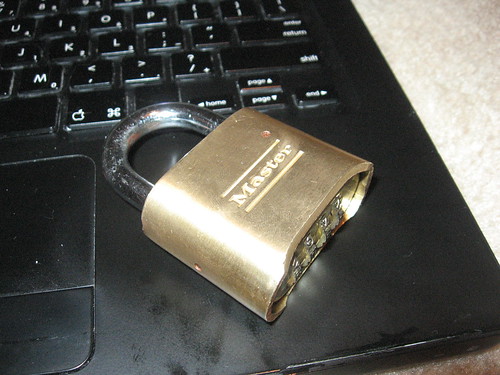
It's a Master 175, as stamped into the bottom plate shown below. There are many locks in this series, including shrouded hasp models (177 series) and black coated ones (178 series). Internally, they're all identical. The only thing different is the color and the length of the hasp. Most people know that Master's cheap dial-combination locks are vulnerable to a variety of attacks. These are sold as "construction grade" locks. I figured I could put it to use if I could get the combination. I didn't feel like breaking it apart.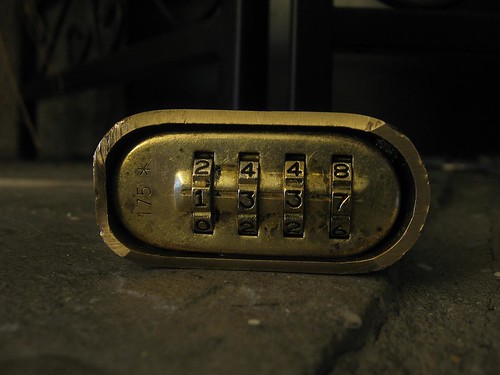
Tension probing
Many thumb-wheel combination locks like this (including the ones you see built-into attache briefcases) have a weakness that allows you to determine the combination by feel. You pull on the hasp or otherwise try to open the lock while spinning the wheels until you find one that is hard to turn. Turn it until it feels like it snaps into place. Move on to the next wheel that is binding, and work your way through them until the hasp opens.
The Master 17x locks don't suffer this vulnerability. Being "construction grade", I suppose that's a good thing. To open the lock, you must enter the right combination, then push the hasp in. If the combination is correct, it will pop all the way out and open. If it's not correct, it'll just retract to its locked position. This makes brute force attacks exponentially more difficult.
Bypass
Another vulnerability with some thumb-wheel locks is a nifty bypass method. If you can trigger the hasp release without entering the combination at all, it'll open for you. This is usually done by wiggling some metal around the thumb wheels to probe the inner mechanics of the lock, then attempt to release the hasp that way. While that's good and well, I want to know the combination so that I can use it. Open or closed, this doesn't do me much good.
Cam probing
This is what I'm interested in. Each wheel has a cam attached to it. These cams have dimples, flat spots or notches which allow the gate to drop into place when the correct combination is entered. As the wheels' clearance between the metal bottom plate is pretty tight, I've opted to use a thin feeler gauge, made for rebuilding automobile engines. These tools are cheap, cheap. I think this one cost me $4 at AutoZone.
Each of these blades varies in thickness. The number on top is in thousandths of an inch, and the number below is in thousandths of millimeters. I found that the .0015" was simply too flimsy (it's about as thick as a sheet of aluminum foil, but made of steel and much stronger), so I went with the .002".
I had to do some tinkering. For starters, I didn't know which side of the wheel to probe, so I started with the left side. There's a ridge around the thumbwheel that keeps the feeler from going in more than 1/10" or so. I wiggled it around and eventually got it in between the metal plate and the thumbwheel, and inserted as far as it would go. Then, I started carefully turning the wheel while gently pressing the feeler inward. This promptly got me nowhere. I couldn't feel anything happening at all.
I moved to the right side of the thumbwheel, and I had it! I still had to weasel in around the ridge of the thumbwheel, though.
Note that the feeler is not sticking in very far. You can see the rounded edges of the feeler.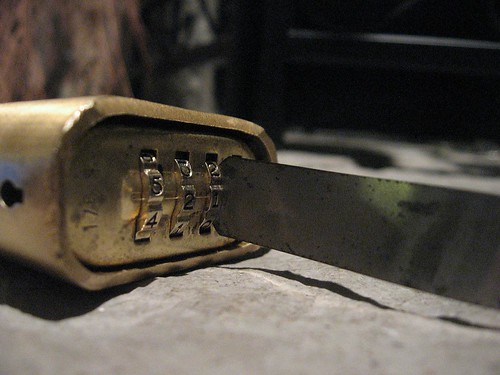
While turning the wheel, the feeler dropped noticably into place (in the middle of 2-3 on the 3rd wheel as shown), and I could feel it getting pushed back out if I tried to spin the wheel further.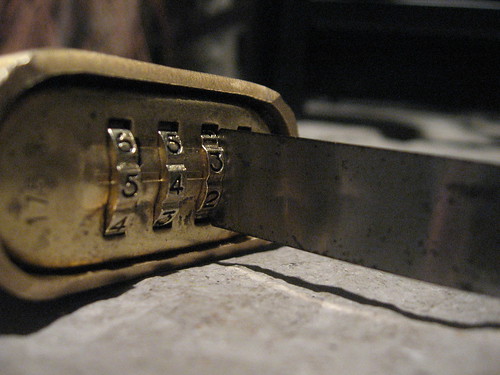
Note the peculiar location of the flat spot on the cam. It's between two numbers on this model. That will help us in a moment.
Find all of the flat spots and jot them down, in my case, it was:
5/6, 7/8, 2/3 and 5/6
In this position, it shouldn't surprise you that my lock didn't open.
The gate is usually 90 degrees or 180 degrees from the wheel alignment mark. That means it's either directly opposite the alignment mark, directly above the wheels, or directly below them. Given that the flat spots were between two numbers, this rules out the gate being opposite the alignment mark. Turning the wheels 180 degrees would land them at: 0/1, 1/2, 7/8, and 0/1, which isn't really a combination Master had in mind.
I chose to rotate all of them 90 degrees upward, toward the lower numbers. Starting with the dials at the position you wrote down: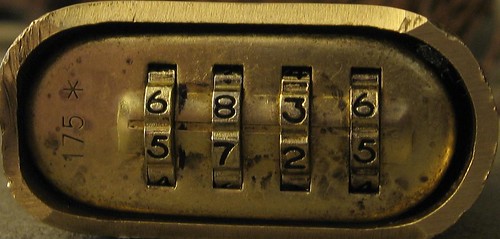
Nudge all four dials upward to the number that sat below the alignment mark
Then move all four dials upward two more spots (decreasing numbers unless you start at 0)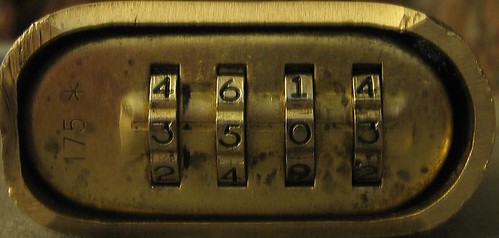
Press the hasp in, and it opens!
Similar methods work on a large number of locks. You just have to tinker. Now you know how almost all thumb-wheel padlocks work!
In Review
The instructions for cracking a lost/forgotten/unknown combination on a Master 17x series thumb-wheel padlock:
- Hold the lock with the bottom plate facing you and the numbers right-side up.
- Use a feeler gauge (I used .002") between the right side of the thumbwheel and plate.
- Carefully turn the thumbwheel while applying gentle pressure on the feeler gauge.
- Write down where the feeler sinks into the lock deeper. It will always be between two numbers on 17x locks.
- Turn all four wheels to the locations you wrote down.
- Turn all four wheels upward to the number on the bottom of the split.
- Turn all four wheels upward two more whole numbers.
- Press hasp in to open


