
Series: Make your own lock picks
Part 1: Grind out a simple lock pick
Part 2: Make a tension wrench
Part 3: Advanced lock pick profiles
In this series, I'll show you how to make a set of high-quality lock picks from stuff you either already have laying around the house, or materials that are easy to acquire for cheap.
The first part will cover the basics of how to grind out a simple pick. I chose to use a "Diamond Rake" because of the simple shape. Skills you should pick up in this part:
- Selecting pick material
- Cleaning the raw material
- Using a rotary grinding tool
- Quenching
- Rounding sharp edges
- Polishing
- Beer (very important, or not. But good to have)
- A rotary tool such as a Dremel, or a bench grinder (!)
- Wire brush, Grinding and polishing discs for the above tool or grinder
- Metal polishing compound (Alloy wheel polish is inexpensive and works fine)
- Sandpaper (400 grit or finer, wet/dry recommended)
- A bowl of water
- Eye protection
Raw material for the picks will almost always be some kind of spring steel. Some things I've made picks from in the past:
- Metal from the carcass of old windshield wiper blades
- Street sweeper bristles
- Old hacksaw blades
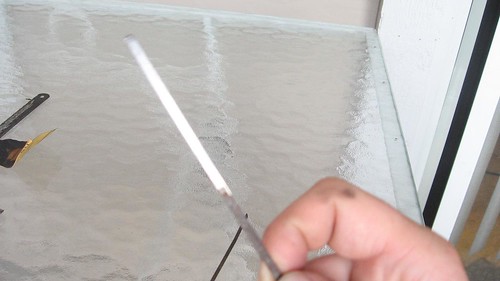
I find these street sweeper bristles in the gutter all the time. Keep your eyes peeled along major roadways.
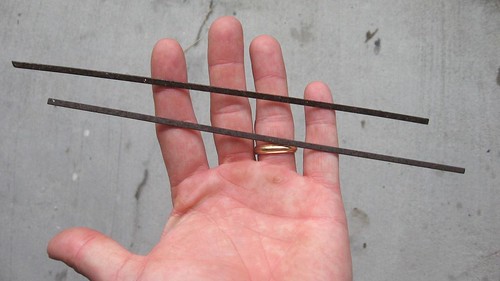
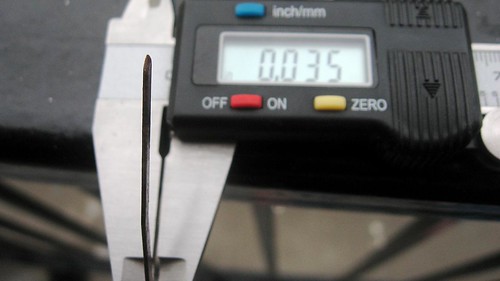
They measure .035 thick, which is narrow enough to fit in most traditional keyways, but thick enough to be really strong.
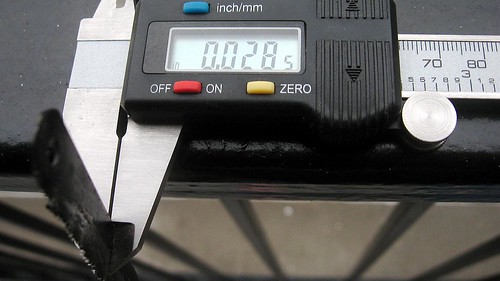
Alternatively, an old hack saw blade I had laying around measured .0285 thick. These are good for making larger picks, and the steel is usually high quality. If you opt to use an old hack-saw blade, I recommend grinding off all of the teeth on a bench grinder first. Remember to keep quenching the blade! I'll cover quenching in a bit.
I stuck with the street sweeper bristles for this article, because they're easier to work with. First, I used a wire brush attachment to clean all of the rust and paint off of the end of the bristle. Make sure you have eye protection.
Clean at least 3" from the end. You could also use sandpaper or a sanding drum on the rotary tool if you wish. Don't make the bristle too thin.
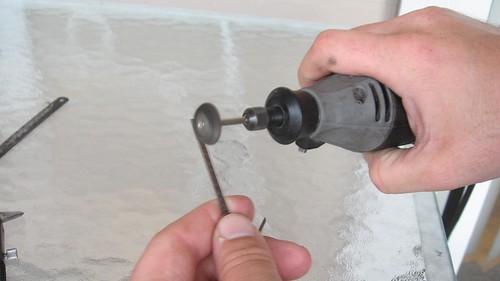
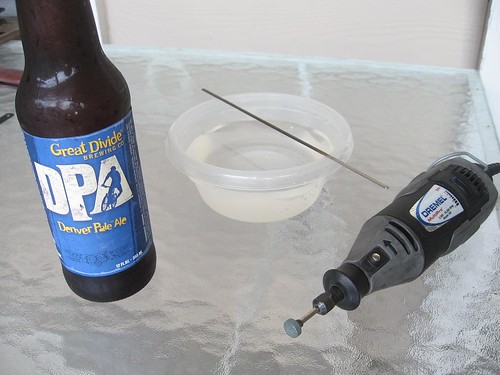
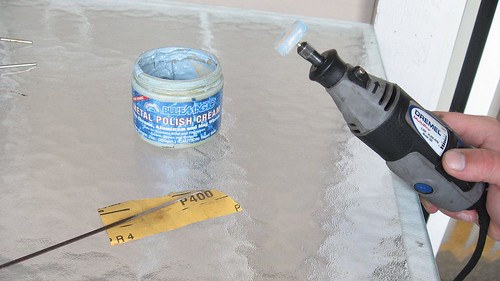
Beer: Great Divide Dever Pale Ale. Yum. Shown is a bowl of water for quenching the pick, and my dremel with a small grinding wheel. Smaller grinding wheels are better for cutting detailed shapes into your pick.
Start grinding. You'll see the shape I eventually come up with in a moment, if you wish to use this article as a guide.
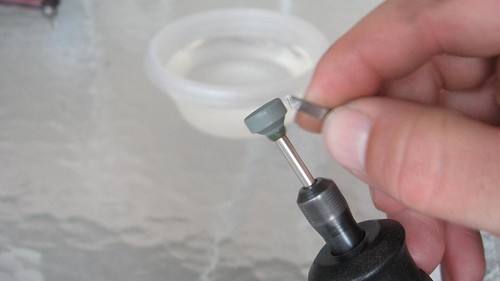
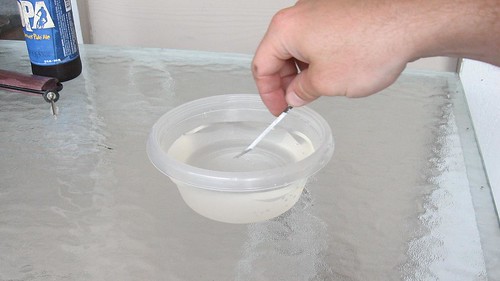
Don't let the metal get too hot to hold. Frequently, dip it into the water. You can't quench it too often, but if the metal overheats it will get brittle. If that happens, it could break while you're working on it, or be difficult to use once you're finished.
Here's the shape I cut out. As you'll see in the next photo, I worked on the narrow part a little more as I rounded the sharp edges.
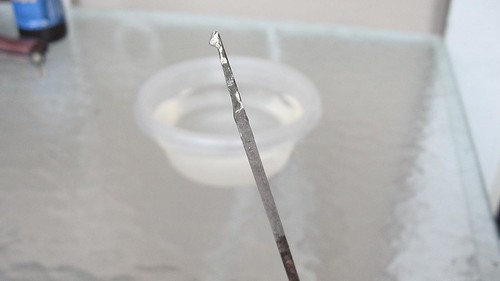
Holding the pick body at an angle, take off all the sharp edges and bevel or round them. Here you can see the extra work I put into the narrow part of the pick. Also, I switched to a larger grinding wheel to make it easier to round off the edges.
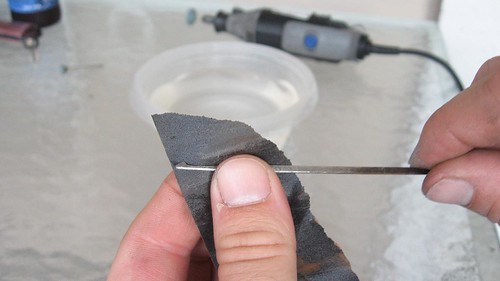
A little touch-up with some sandpaper will get the pick nice and smooth.
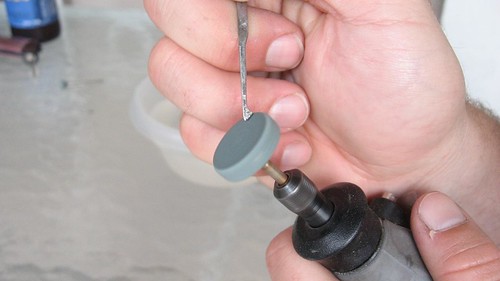
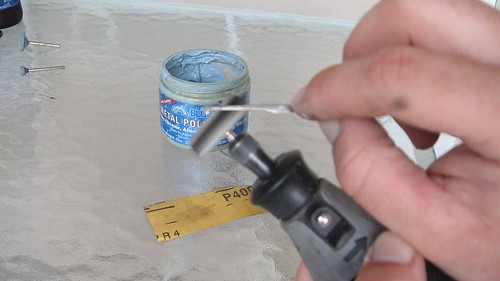
Put some metal polish on a polishing wheel attachment.
Start polishing the pick to a satin, smooth finish.
It should almost be like a mirror.

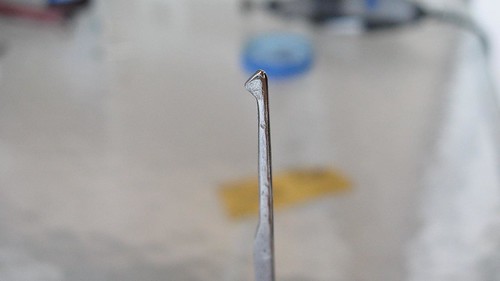
Close-up of the pick head.
Series: Make your own lock picks
Part 1: Grind out a simple lock pick
Part 2: Make a tension wrench
Part 3: Advanced lock pick profiles


